Security Guide
Table of Contents
Securing your room with a password
It is possible to secure access to your quonference room by using a room password. Room passwords cans be used as the sole security mechanism or they can be used in addition to the other more secure methods mentioned below.
Setting up the room password
A room password can be specified during the room creation or added after the room is created but in both cases the process is the same. If the room is already created edit the room by selecting the room from the rooms menu (home->rooms) and clicking on the edit button [insert image], then stay on the first tab (room). If the room is being created stay on or go to the first tab (room).
On the room tab type the room password in the password field and then save the room or continue on with the creation wizard to the end to create the room. Once you have created or saved the room the password is in effect and anybody connecting to the room via the room URL will be prompted for the room password upon entry (including the host).
If you want to change the password at any time simply re-edit the room and type a new password and save the changes.
Please note that just using a room password is weak in terms of security and we advise you to consider one of the more secure methods described below.
Securing your room with a one time pincode (invitation mode)
The use of one time pin codes is a great way to protect against unauthorized access to your rooms. When using one time pin codes you define who can access the room and who can’t. The participants who you have given access to will recieve pin codes by email when they connect that must enter into the login screen.
You decide who has access to the room by either:
- Adding invitees to the room invitation list
- Inviting people on the fly from the live meeting
Giving access by defining an invitation list
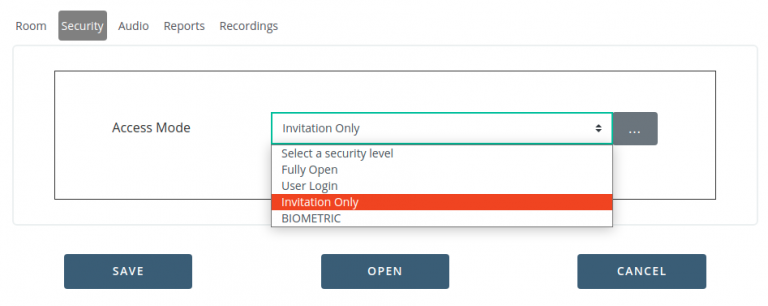
To enable the use of one time pins for a room, either create a new room or edit an existing room and click on the Security tab. Once in there select « Invitation Only » from the drop down and then click on the button with the ellipsis that appears next to the drop down.

This will make your contacts appear. By default the contact list only shows people from your company account, if you want to include your own private contacts that you have previously added be sure to click the « include my contacts » check box.
Once you’ve decided who should be allowed in the room by selecting them from the left hand side of the contact list, click the OK button and then the save button. Your room will then be updated in real time.
Send out your invitations as you normally do and when your guests try to enter the room they will be presented with the following screen:


If the email address is on the invitation list the screen will change to the following
The participant will immediately be sent an invitation email with their one time pin code which they should enter and then they will be given access to the conference
Securing your room with a security key
Protecting your room with a security key such as a Yubikey is a highly secure way of controlling who can access your quonference room. The principle is the following: only users who have a security key that is registered with quonference and that are allowed access to your quonference room can enter your meeting.
Associating a key with a given user account
Any user that you are going to allow to access your room must have associated their security key with their Quonference account. This is done by logging in to the user portal and clicking the security link from the nav bar menu

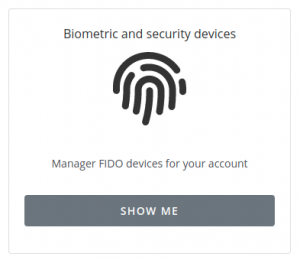
Then click on « Biometric and Security Devices ».
From here the user must click the « add external device » button:

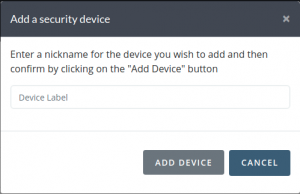
They will be prompted to choose a device label / nickname:
Then they will have to click « add device » which will prompt the user to insert their security key:
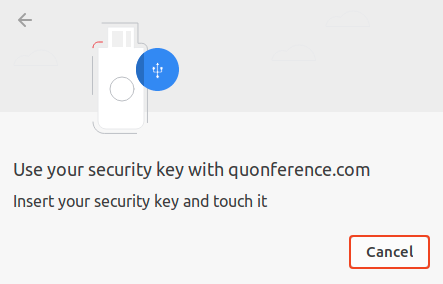
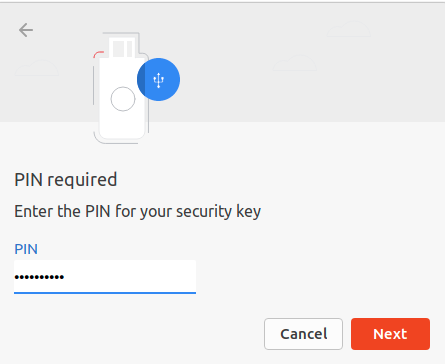
And authenticate with it i.e. enter any associated passcode and then touch the key as they usually do when using their key:
The key will be then be added to the list of devices and any number of keys can be added however you may not add the same key more than once.
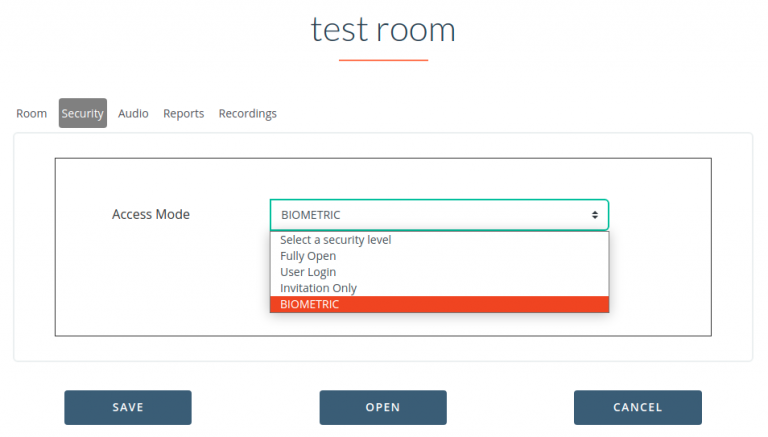
Setting up the room to require access by security key
To set rooms up so that require the use of a security key or other FIDO2 / Webauthn device such as a fingerprint reader is done by setting the access mode on the security tab to « Biometric » as shown below:

By default anyone with a quonference account in the same organisation as you will be able to access the room as long as they use their security key and it has been associated with their Quonference user account.
However you may further restrict who can access the room by selecting the radio option « decide who can participate ».
This will show you a popup box that is pre-populated with all of your company’s user accounts enabling you to further restrict access to specific individuals within your company or from your contact list:
Then click the save button and your room is now protected against unauthorized access by a security key. Anyone trying to enter the room will have authenticate using their key.